Showing posts with label cookies. Show all posts

25 Days of Giving Update and a Cookie Recipe!

Wednesday, December 16, 2015
Well my December challenge has been more of a challenge for me than I originally thought.  I mentioned in one of my previous posts that the giving part was not going as planned.  To be honest I'm not sure what I really thought would happen with this challenge.  I guess I was thinking that everyday I would be volunteering or donating items to a charity, giving money, and making the world a better place.

What I have found is that it is the small giving that can mean so much.  I do believe that it is important to donate food and gifts to families in need, and that I have done.  I also believe that it is important to support your favorite charities with monetary donations.  That I have done also, but it is the little things that sometimes we forget to do that can make giving easy, and life so much better.

Some of these things I am talking about include:

  • Allow someone to go in front of you in the check-out line for absolutely no reason.
  • Pay for the person behind you in the drive-in lane at a restaurant.
  • Volunteer to help when asked.
  • Hold the door open for the person behind you.
  • Smile and say hello to people you don't know.
  • When your child has to bring money in for a class party, give extra in case a student can't afford it.
  • If you shop at ALDI, give your cart to someone without asking for the quarter.
  • Instead of yelling at the person who just cut you off in traffic, pray for them instead to get to their destination safely.
Doing all of these and more can really make a difference.  This is giving of the best kind...the giving of kindness and it can make someone's life a little brighter.

Now for the cookie recipe.  This recipe is one that I made based on a recipe that I found at Eating on a Dime.  I needed a good recipe for our church's cookie reception and it needed to be quick, easy, one that I had all the ingredients for, and something different than chocolate chip.

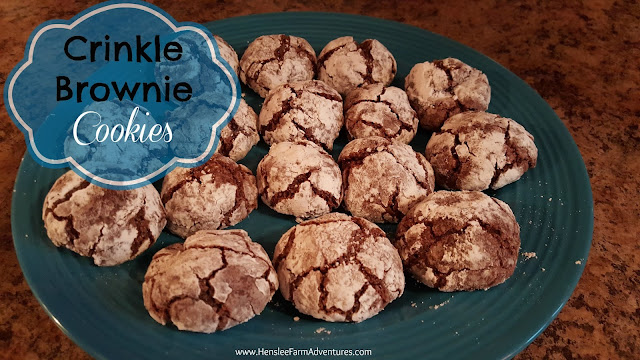
Crinkle Brownie Cookies

This recipe I found sounded great! Plus they were quick to make and easy.  The one problem is that it called for a brownie mix, and I don't normally use store bought mixes.  In fact I make my brownies from scratch (I see another recipe post in the near future).  So I decided to use my brownie recipe to make a "mix" and I had to tweak a few other things, but I was able to make these delicious cookies from scratch and they were just as easy as using a store bought mix.  

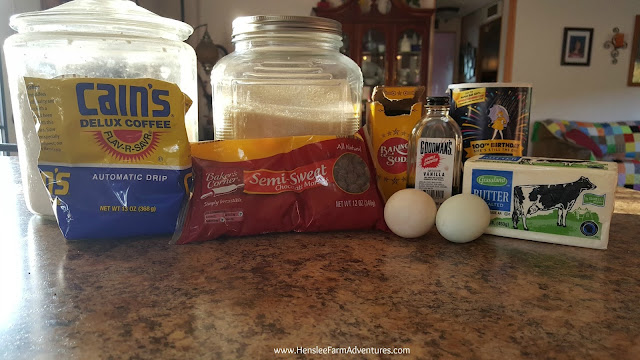
So this is what you have been waiting for the ingredients:
  • 2 1/2 cups of flour
  • 1/2 cup of cocoa
  • 2 cups of sugar
  • 1/2 teaspoon of baking powder
  • 1/2 teaspoon of salt
  • 3 eggs
  • 1/3 cup of oil
  • 1 teaspoon vanilla 
  • 1/2 cup of 
First sift the dry ingredients together.  If you don't have a sifter (really you should) just put the dry ingredients in a bowl and whisk together well.  Next add in the wet ingredients.  I did not add the wet ingredients together and then combine, I just threw the eggs, oil, and vanilla right into the dry ingredients.


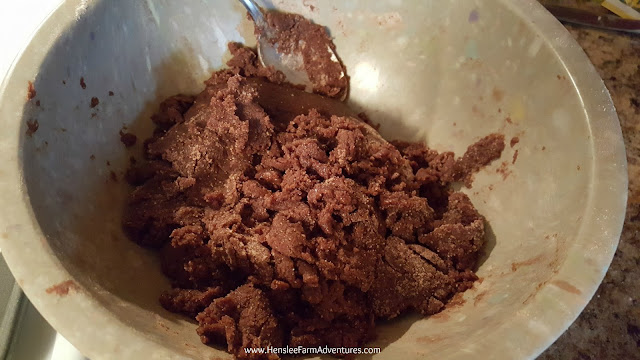
Cookie batter
You can see how thick it is!
Then mix this all together.  I will say that I started mixing this with a spoon.  I knew it was going to be thick, but this is super thick.  I soon abandoned the spoon and dove right in with my hand.


Rolling the dough
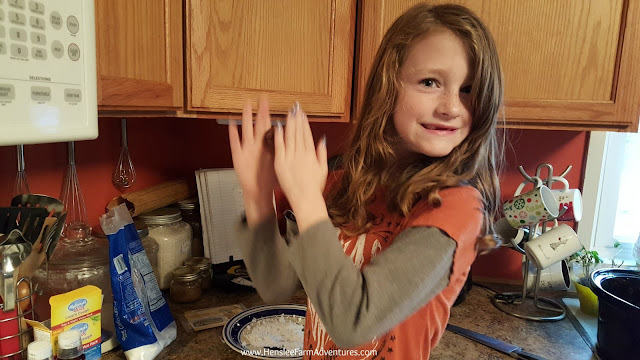
Carly making the cookie balls...please forgive my messy kitchen!
Once it is mixed well, start making balls with the dough.  I used my cookie scoop to get uniform cookies.  Then roll the dough ball into powdered sugar.  This is where my little girl helped.  She loved making the dough into balls and rolling them into the powdered sugar.  And I love being able to cook with her and pass on my knowledge!

Rolling the dough balls in powdered sugar
Carly rolling the balls in powdered sugar.


Once you are done, then bake them in a preheated 350°F oven.  The original recipe said for 8-10 minutes, but her cookies must have been much smaller than mine, or perhaps my oven temperature is a little off.  Not sure, but I had to bake my cookies for at least 18 minutes before they were done.  I would suggest to start checking them around the 10 minute mark.
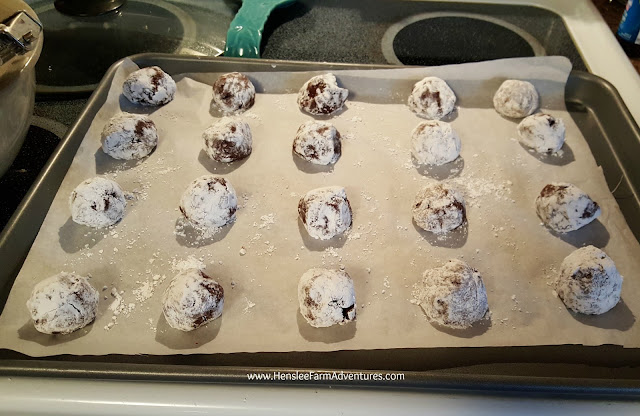
Cookies ready to bake
Ready for the oven.
 The cookies were a huge hit at our church function and they were soon gone.  I was so glad that I saved a few for us at home.  I will definitely be making these cookies again.  They would be perfect for a cookie exchange or if you are planning on making some treats as gifts during the holidays.

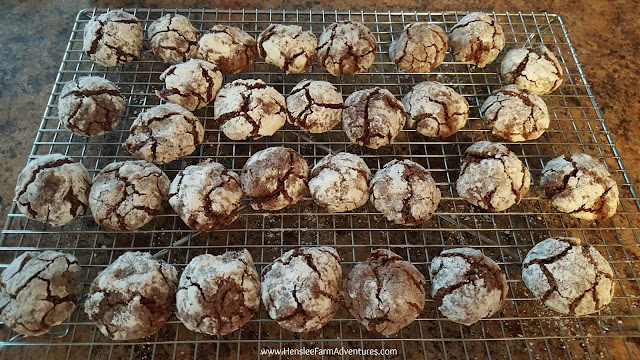
Crinkle Brownie Cookies cooling
Cooling on the rack, it was hard to keep everybody out of them!


I hope you enjoyed this recipe and if you try it, please let me know in the comments below what you think.

If you would like a printable version of the recipe, click HERE.

Throw Back Thursday: Chocolate Chip Coffee Cookies

Thursday, October 22, 2015

The throw-back Thursday recipe post is back!  I know some of you have missed it and to tell you the truth, so have I.  I really enjoy making these recipes and I enjoy remembering the story behind them as well.

Today's recipe comes from my husband.  When we were dating 12 years ago, he decided to try and impress me with his baking ability.  At that time his cooking abilities were just ok at best and so I was a little leery of him cooking me anything.  He went through several recipes and instead of sticking with one (which I thought he should do), he combined several recipes together to make chocolate chip coffee cookies, because he knew I loved chocolate and coffee.

I can admit know that I was worried about tasting them when they were done.  But boy did he surprise me!  He made the most wonderful cookies.  One bite and I was hooked...on the cookie and the man!

I thought I would share that recipe with you today and hope you enjoy it as much as we do.  He still makes them for me, in fact he really wanted to make them for this post, but I asked if I could try my hand at it.  While these cookies turned out really good, I think I should have let him make them.  He definitely has that special touch.

Chocolate Chip Coffee Cookie Ingredients
Cookie Ingredients
So let me say a little something about the ingredients.  It calls for instant coffee.  I normally have instant coffee at home.  Not to drink of course, blech, but to use in various recipes.  Of course when I went to retrieve it, I found out that I was out.  So I decided to try it with regular coffee, but still follow the instructions.  THEN I found out that my husband just makes extra strong coffee and uses that!  Geez! I wish I would have known.  So in the coming pictures you are going to see coffee grounds in the cookies.  Guess what?  It ain't so bad!

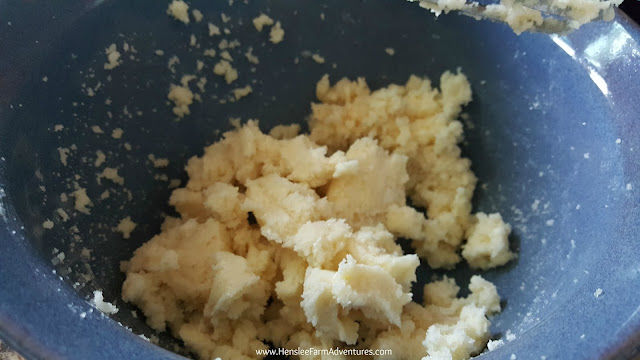
First you want to dissolve 1/3 cup of instant coffee in 2 tablespoons of hot water.  Then while it is dissolving (and cooling at the same time), cream together 1 cup of butter and 1 1/4 cups of sugar.

Butter and sugar creamed together
Butter and sugar creamed together.
Once the coffee has cooled, add it to the butter and sugar mixture along with 2 eggs and 1 teaspoon of vanilla and mix well.

Batter with coffee added
See? Coffee grounds.
Then in a separate bowl, mix together 2 2/3 cups of flour, 3/4 teaspoon of baking soda, and 1/2 teaspoon of salt.  Add that to the coffee ground mixture. Once you have that mixed well.  Add in 2 cups or one 12 ounce bag of chocolate chips.

Chocolate Chip Coffee Cookie Batter
Cookie batter, yum, yum!
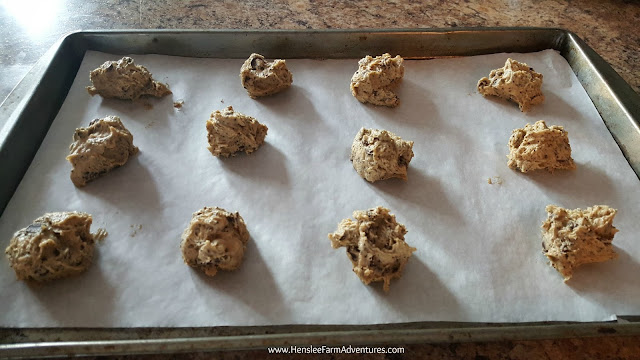
Drop by spoonfuls onto a greased cookie sheet, or in my case a parchment lined cookie sheet and bake at 350°F for 10-12 minutes or until golden brown.

Chocolate Chip Coffee Cookies Ready to Bake
Ready to go into the oven.

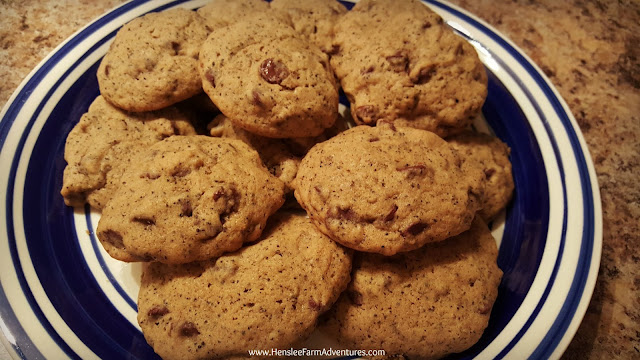
Once they are done, let them cool on the cookie sheet for a couple of minutes before transferring them to a cooling rack.

Chocolate Chip Coffee Cookies
Yummy cookies!
These are so good, even with the coffee grounds.  I love the flavor of coffee and chocolate together and these were perfect.  Well almost perfect. ;-)

If you want a printable version of the recipe, then click HERE.

Try this recipe out and let me know in the comments below what you think.

Throw-Back-Thursday Recipe: Peanut Butter Cookies

Thursday, May 28, 2015
Happy TBT once again!  I can't believe how fast these weeks are going by.  The kids are out of school and it feels like summer has officially begun with how hot and humid it is here.

I thought that in honor of the kids being out of school, that I would dedicate this post to them, and one of their favorite treats. Peanut butter cookies!


I used to make peanut butter cookies all the time.  From scratch.  And let me tell you, the recipe while good, was involved.  It wasn't something I could just whip up in a jiffy (as my mom used to say).  My mom gave me a recipe for peanut butter cookies that was only 3 ingredients.  I didn't try it for years because I was under the impression that a peanut butter cookie could not possibly be edible with only 3 ingredients.

I was completely wrong!  In fact there is a lady that bakes marvelous goodies and sells them at the farmer's market in our local town.  Her peanut butter cookies were to die for!  And guess what?  She uses the exact same recipe.

So not only are these cookies super easy to bake, with ingredients that almost everyone already has on hand, but they are super delicious!  And the other thing that I like about them is that they are grain-free and dairy-free!  That is a big plus for our family since my little girl is lactose intolerant.

So without further ado, here are the ingredients.  They look kind of lonely don't they?  In fact they don't look like they would make a scrumptious cookie.  But trust me, they do.

Three lonely ingredients

Mix together 1 egg, 1 cup of sugar, and 1 cup of peanut butter until well blended.

Ingredients all mixed

Drop by spoonfuls (your choice on the size) onto a baking sheet.  I like to use parchment paper when I bake.  And then use a fork to make crisscross marks in the cookie.  The dough can be pretty sticky, so use some extra sugar to help keep it from sticking.  If the grain-free part doesn't matter to you, flour will work as well.

Ready for the oven

Just bake these beauties for 10-12 minutes in a preheated 350°F oven.

Nom, nom, nom

Don't these look scrumptious?  These would be really good with a cold glass of milk, or in my family that would be a cold glass of almond milk.  Yum, yum!

So what do you think?  Let me know in the comments below.  Has anyone tried something similar but used almond butter instead of peanut butter?  I would love to know how it turned out!  Please share!
©HensleeFarmAdventures.com. Powered by Blogger.

Search This Blog

Back to Top