I have had a pile of old t-shirts that I have wanted to make into skirts for quite some time. It seems like there is always something else that needs to be done. Like now, I am working on a baby afghan, and trying to clear out our clutter, and trying to deep clean the house as well as enlarging our master closet.
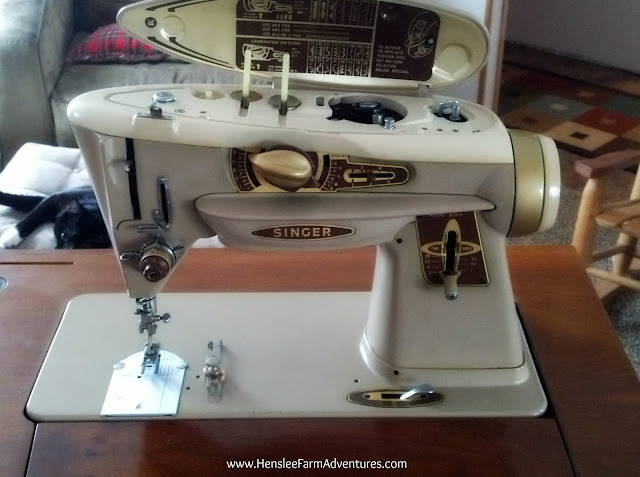
But the other night my sewing machine (a 1961 Singer Slant-O-Matic "Rocketeer") was calling to me. This was a Christmas gift last year from my parents. I had been wanting a new sewing machine and I was painstakingly trying to decide which machine to purchase. I was surprised when my parents presented me with this gem of a machine that they found at a garage sale. They of course took it to a sewing shop and had it serviced and now I am the proud owner. However it had been about six months since I had even used it.
Even though I didn't really have the time to spare, I decided to go ahead and do something I have wanted to do for a long time. I decided to finally make me a t-shirt skirt.
A t-shirt skirt is a great way to upcycle an old t-shirt into something new. I love being able to refashion something old into something new. And this project is about as easy as they come.
 |
| The old t-shirt |
This is what I started with. It is a men's size XL. You do want to get a t-shirt that is overly large for you. I normally wear a women's medium, and a men's large would probably be big enough for me to make a skirt out of. However I was already given this and wanted to use it.
The first step is to cut the shirt right below the arms. This will be your skirt bottom.
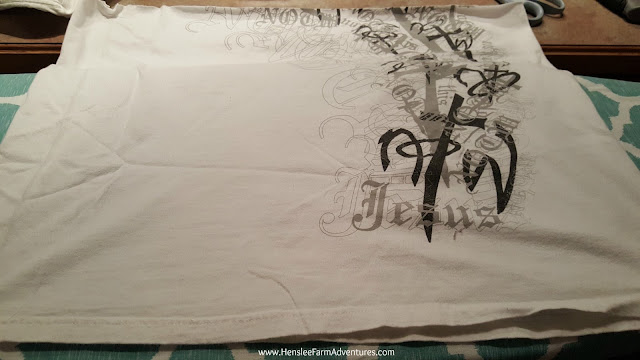 |
| Bottom part of shirt cut off. |
You really don't have to do anything else to this. If you wanted you could cut the sides to make it an A-line, or you could sew darts in the back to take it up a little. I didn't do either on this one, I wanted to try and refashion it as simply as possible.
The next step is to measure your waist. For me, I also had to try and not faint dead away when I saw what my waist measured. Seriously people, I just about croaked!! So for my fantasy I am going to say I was a 28 waist. (Please just let me have my little dreams). Keep (your real) waist measurement in mind, you will need it.
I decided to make a waistband out of the rest of the t-shirt material. I cut off the collar and the sleeves and discarded them and used what was left of the t-shirt to fashion my waistband.
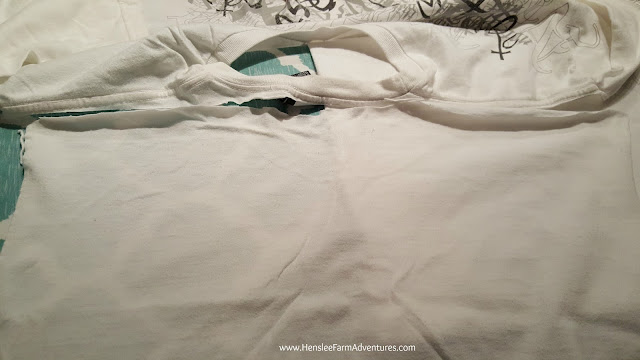 |
| Removing the collar and sleeves |
I thought I wanted a plain white waistband, but then I thought that the graphic would look cool as part of the waist band and keep with the overall look of the skirt. So I made sure and cut off enough so that the plain white part would be the back of the waistband and the graphic would be the front part.
Now this is where the waist measurement comes in. If you have a 28" waist, you will want to divide that in half and add at least a 1/2 inch for a seam allowance. To keep it simple, let's say we do want a 1/2" seam allowance, which would mean that I want to cut two strips, each 14 1/2" long. In this case, I want 14 1/2" of the plain white and 14 1/2" of the graphic part of the t-shirt.
I then had to cut and straighten my pieces I was using for the waistband. I wanted to get rid of the ragged part of the material so that I would have a smooth and straight piece to work with.
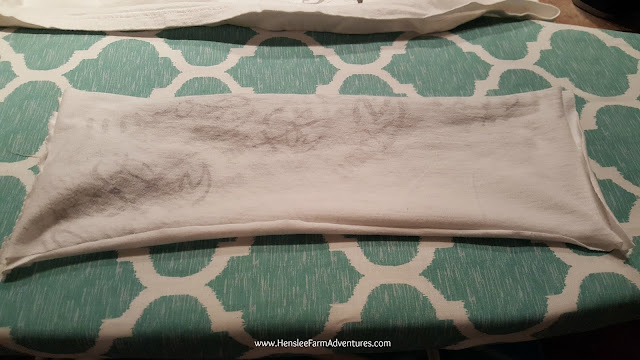 |
| Straightened and ready to sew...however the ends did like to roll on me. :-( |
Next you want to determine how wide you want your waistband to be. I just used the width of what was left of the t-shirt material, then folded it over, wrong sides together. The width of your waistband will help determine what length your skirt will be. The width of this waistband created a skirt that was knee length which is exactly what I wanted. Next I sewed the front of the waistband to the back of the waistband using a 1/2" seam allowance on both sides. Once sewed, be sure and try the waistband on to make sure that the fit is good.
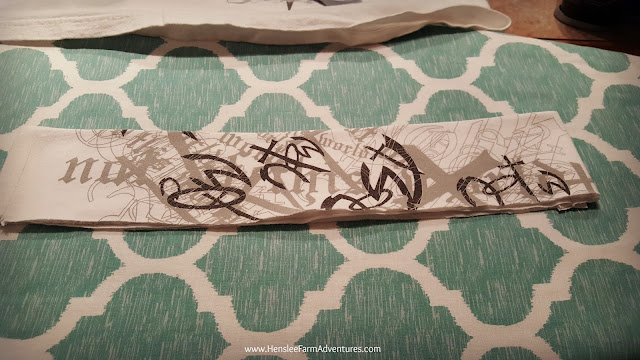 |
| My finished waistband |
After the waistband is done, you need to pin it onto the top of the skirt. The waistband will be much smaller than the top of the skirt, so you can either gather the skirt as you go, you can sew darts in the back, or you can create a couple of gathers on the side. I decided to create a couple of gathers on the side to keep it more uniform and not have to try making gathers all the way around. This is the option that I chose.
 |
| Pinning waistband to skirt |
Be sure and pin the right sides together, and then sew around the edge allowing for a 1/2" seam allowance. Press the seams open and trim as needed. And voila! You are done! The bottom hem of the shirt is now the bottom hem of your skirt, so you don't have to worry about hemming which is my least favorite thing to do when it comes to sewing.
 |
| Finished skirt |
|
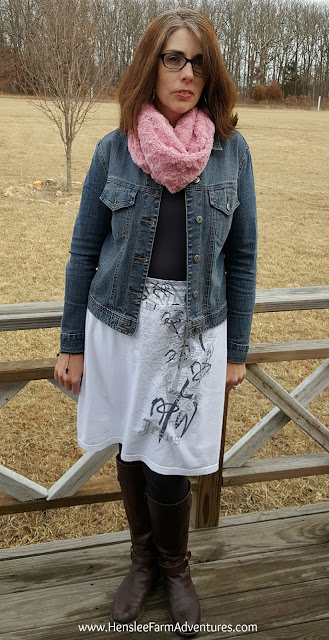
I wore the skirt to church the next day and was complemented on it. It made me feel good knowing that I was able to create this from a shirt that might have just ended up in the rag pile.
You can see I'm not really a model, but I do love how this skirt turned out! Plus knit skirts are some of the most comfortable skirts that I have. I love that I left this a little big on the sides since I don't like clothes that cling either.
I hope that you try and make a t-shirt skirt yourself. Look for the ones with great graphics at Goodwill, or if they are marked down to $1.00 at your local store. Keep in mind what would make a cool skirt.
Let me know below what you think about this project.
Happy sewing!


