Showing posts with label farmers' market. Show all posts

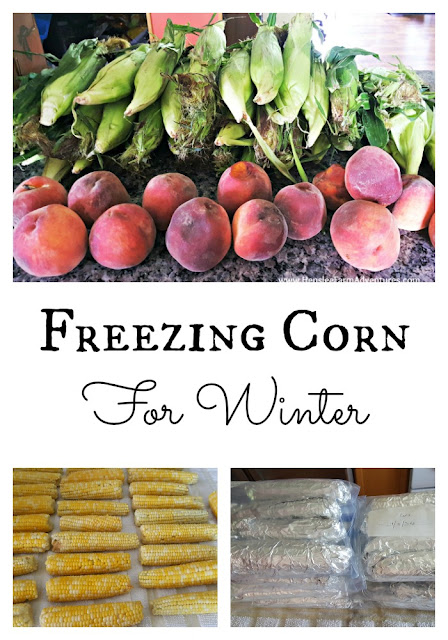
Freezing Corn for Winter

Tuesday, July 12, 2016
I absolutely love summer! And boy is it in full swing! I could do without the blazing temperatures and the humidity, which turns my naturally wavy hair into a frizzy mess (think 80's perm).  But I am loving time with my family, swimming in the pool, and one of my all time favorite summer time activities, putting up vegetables!

Yes, you read that right. I love preserving the food that we grow, whether that means freezing it or canning it. For me it brings back memories of getting together with my grandparents and sometimes my aunt and uncle, and sharing in the work. It was always so much fun, and after the day was done, we would split the food that was preserved between the families. All winter long we would enjoy the good food that we grew. It was almost like having a little taste of summer during the bleak cold winter days. I thought I would share with you how to preserve sweet corn on the cob so that you too can enjoy it all winter long!

Freezing Corn for Winter  www.HensleeFarmAdventures.com

First, I have something that I must confess. I didn't actually grow this corn. We have tried growing sweet corn for several years and we have just not had any luck. In fact the best year we had for corn was one where we were able to harvest 6 ears!

While I was excited about the 6 ears, I felt like a failure that I could not carry on our family tradition of freezing corn for winter. I grew up thinking that you could only preserve the food that came from your own garden. Somehow in my mind if you tried to preserve someone else's food it would rot, or magically disappear. I know, it sounds weird. But I have since learned that you CAN preserve any food! Imagine that! ;-)

I have to give a shout-out to the wonderful lady that grows the corn that I froze.  Her name is Sherri and she has a corn farm.  It is called Farm House Corn. It is absolutely wonderful corn, and she is the sweetest lady! What I love is that she only raises non-GMO corn and she uses no pesticides! I love it when you find a farmer that has the same ideals as you. Check-out her website, she is just starting her business (I am NOT getting paid to say any of this).

Now, back to freezing corn. I used to think that you could just wash your veggies and put them in a freezer bag and you are done.  With some veggies you can do this, but with others, corn being one of them, you have to blanch it first.

Blanching is where you partially cook vegetables, then dip them immediately into a cold water bath to stop the cooking process. Once the vegetables are blanched and dry, you can prepare them for the freezer.

The first step is to shuck the corn and remove the silks.  To remove the silks, scrub (not hard) with a vegetable brush while the corn is in cold water.

Freezing Corn for Winter  www.HensleeFarmAdventures.com
Beautiful corn, with slight blemishes. I love it! To me it means no pesticides.
Once the silks have been removed, cut off any bad places.  I thought I would share this picture with you.  The majority of the corn I got was pretty much perfect, however there were some that looked like the picture above. To me, that shows that pesticides are not being used. I just cut off the tops and we were good to go!

Freezing Corn for Winter  www.HensleeFarmAdventures.com
A treat for my chickens!
Next, bring a pot of water to boil and put in as many ears that will fit and boil for 6 minutes. Unfortunately, I do not have that big of a pot, so I had to boil my corn in batches of four.

Freezing Corn for Winter  www.HensleeFarmAdventures.com
Boiling corn.
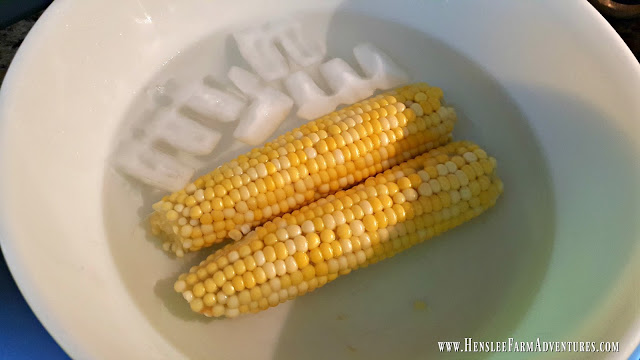
As soon as the 6 minutes are up, you need to immediately immerse the boiled corn in a bowl of ice water.
Freezing Corn for Winter  www.HensleeFarmAdventures.com
Ice water bath.
The ice water will stop the cooking process.  Isn't the corn a beautiful yellow?  And yes, that is two colors that you are seeing. This corn happens to be a bi-color corn.

Lay the corn out on clean kitchen towels to dry.

Freezing Corn for Winter  www.HensleeFarmAdventures.com
Beautiful corn! I believe that is a peach photo bombing this picture!
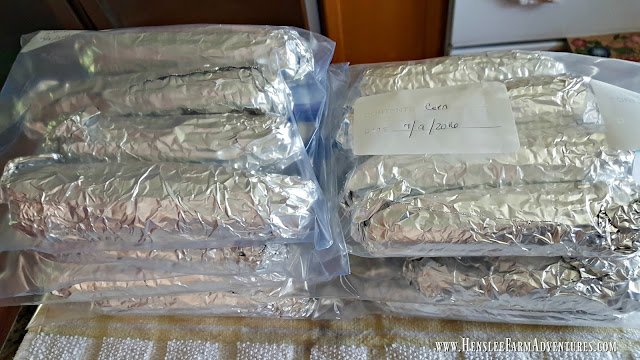
Once the corn is dry, you can roll it up in foil, and put it in freezer bags. After that all that is left to do is put it in the freezer!
Freezing Corn for Winter  www.HensleeFarmAdventures.com
Ready to freeze to eat this winter.
There really isn't much to getting corn ready to freeze. My kids love corn on the cob, and this winter, we will enjoy this corn. We can also thaw it and cut it off the cob and use it for stews and soups. It will give them a fresh from the garden taste! Trust me, after trying this, you won't want to buy canned corn again!

Be sure and let me know in the comments below what vegetables you preserve for winter.


Mulberry Cobbler

Tuesday, May 31, 2016
I'm back! Wow, I can't believe how long I have gone without a post.  This farmers' market gig is wonderful, but it has taken up more of my time than I initially thought it would. But to be completely honest, I have loved it, and so has Mr. HFA! We have met the best people, customers and other vendors. It really has been a great experience and one that we are going to continue for the rest of this summer.

Speaking of meeting great people, we were fortunate enough to become friends with another vendor. She does wonderful woodworking and makes some great homemade noodles that she sells. They invited us over this past weekend to pick cherries and mulberries. We were excited at the thought of getting both as we do not have either on our farm.

We were able to pick a bucket of cherries and a bucket of mulberries. This weekend, I made a mulberry cobbler using my mother-in-law's blackberry cobbler recipe. I thought it would be perfect to share with you.

Mulberry Cobbler  www.hensleefarmadventures.com


This recipe is so easy!  It is not your regular cobbler.  Growing up I had one grandmother that would make cobbler that had a cake-like crust which was yummy. The other grandmother would make her cobbler using pie crust, which was equally good!  I have found that there are several different ways to make cobbler, and I have not met a cobbler yet that I do not get a long with! For this recipe, it uses a crumb-like topping which makes it very easy and very fast to put together.

Mulberry Cobbler  www.hensleefarmadventures.com
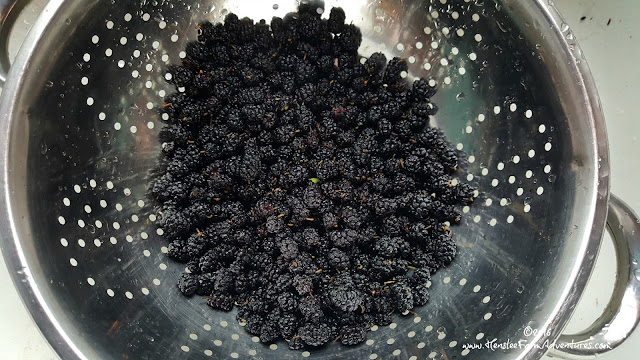
Beautiful berries. These were so sweet and juicy!

Preheat your oven to 375°F. Next you need to wash your mulberries. Aren't these beautiful? They look a lot like a blackberry. I have to say that I had a hard time not eating them as I was picking them!

After they are washed, put them in an 8x8 dish and put 1 tablespoon of lemon juice over them, then set them aside.

Mulberry Cobbler  www.hensleefarmadventures.com
Ingredients. I am missing the butter.

Then mix together 1 large egg, 1 cup of flour, and 1 cup of sugar. Mix until it resembles crumbs, like below.

Mulberry Cobbler  www.hensleefarmadventures.com
Make sure that you mix it up until it resembles crumbs.

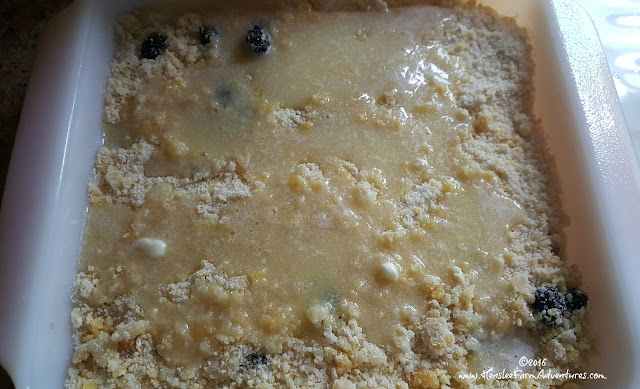
Take this mixture and pour over the berries, making sure that it is even and they are covered. Next, melt 6 tablespoons of butter and pour over the flour mixture that you just put on your berries. (Sorry I forgot to include butter in the ingredients picture above).

Mulberry Cobbler  www.hensleefarmadventures.com
Flour mixture is on berries, and then butter is poured on top of that.

Put this into your preheated oven and bake for 35 minutes or until it is golden brown.

Mulberry Cobbler  www.hensleefarmadventures.com
A beautiful golden brown. This looks delicious!

Doesn't this look amazing? It was hard to keep from diving right into this dessert, but we somehow managed to show some restraint and were able to wait until after supper for this special treat.

Mulberry Cobbler  www.hensleefarmadventures.com
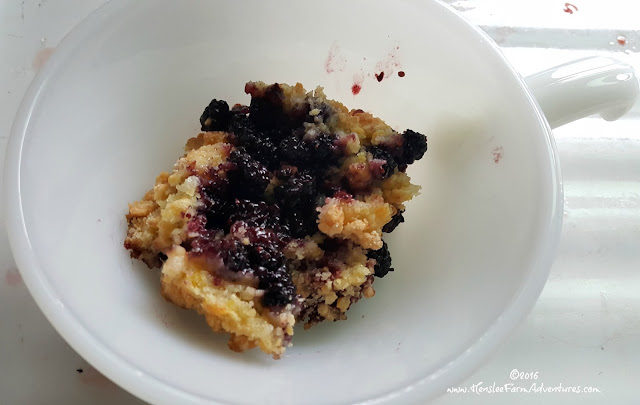
This looks so good, but it really needs a friend.

I spooned some out into a bowl, but then I decided that while it looked good, it looked lonely. So what makes cobbler better? Well...


Mulberry Cobbler  www.hensleefarmadventures.com
Now my cobbler is happy! Cobbler and ice cream, what a treat!

Vanilla ice cream! The only thing that could make this any better is if that ice cream were home made. But alas, we can't have everything!

As you can see the recipe is super simple, and super quick. The perfect dessert for when you are having company and don't want to spend a lot of time in the kitchen. This dessert would also work well with blackberries, raspberries, and blueberries.

Would you like a printed version of the recipe? Click here.

Let me know what think about the recipe in the comments below! Also how do you use your mulberries?
©HensleeFarmAdventures.com. Powered by Blogger.

Search This Blog

Back to Top