Mulberry Cobbler

Tuesday, May 31, 2016
I'm back! Wow, I can't believe how long I have gone without a post.  This farmers' market gig is wonderful, but it has taken up more of my time than I initially thought it would. But to be completely honest, I have loved it, and so has Mr. HFA! We have met the best people, customers and other vendors. It really has been a great experience and one that we are going to continue for the rest of this summer.

Speaking of meeting great people, we were fortunate enough to become friends with another vendor. She does wonderful woodworking and makes some great homemade noodles that she sells. They invited us over this past weekend to pick cherries and mulberries. We were excited at the thought of getting both as we do not have either on our farm.

We were able to pick a bucket of cherries and a bucket of mulberries. This weekend, I made a mulberry cobbler using my mother-in-law's blackberry cobbler recipe. I thought it would be perfect to share with you.

Mulberry Cobbler  www.hensleefarmadventures.com


This recipe is so easy!  It is not your regular cobbler.  Growing up I had one grandmother that would make cobbler that had a cake-like crust which was yummy. The other grandmother would make her cobbler using pie crust, which was equally good!  I have found that there are several different ways to make cobbler, and I have not met a cobbler yet that I do not get a long with! For this recipe, it uses a crumb-like topping which makes it very easy and very fast to put together.
Mulberry Cobbler  www.hensleefarmadventures.com
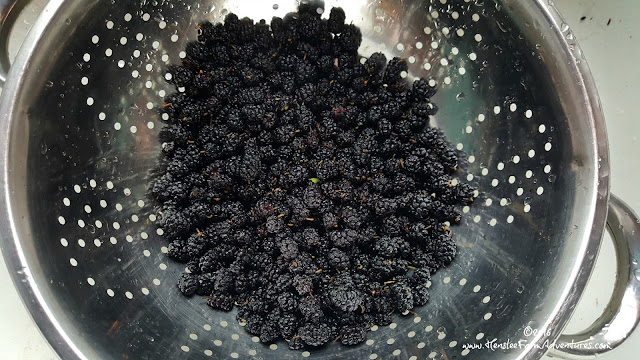
Beautiful berries. These were so sweet and juicy!

Preheat your oven to 375°F. Next you need to wash your mulberries. Aren't these beautiful? They look a lot like a blackberry. I have to say that I had a hard time not eating them as I was picking them!

After they are washed, put them in an 8x8 dish and put 1 tablespoon of lemon juice over them, then set them aside.

Mulberry Cobbler  www.hensleefarmadventures.com
Ingredients. I am missing the butter.

Then mix together 1 large egg, 1 cup of flour, and 1 cup of sugar. Mix until it resembles crumbs, like below.

Mulberry Cobbler  www.hensleefarmadventures.com
Make sure that you mix it up until it resembles crumbs.

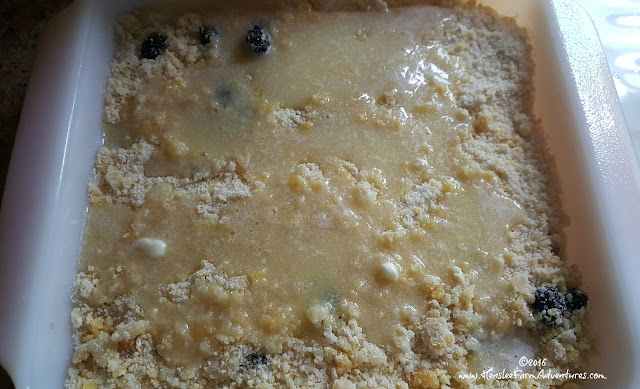
Take this mixture and pour over the berries, making sure that it is even and they are covered. Next, melt 6 tablespoons of butter and pour over the flour mixture that you just put on your berries. (Sorry I forgot to include butter in the ingredients picture above).
Mulberry Cobbler  www.hensleefarmadventures.com
Flour mixture is on berries, and then butter is poured on top of that.

Put this into your preheated oven and bake for 35 minutes or until it is golden brown.

Mulberry Cobbler  www.hensleefarmadventures.com
A beautiful golden brown. This looks delicious!

Doesn't this look amazing? It was hard to keep from diving right into this dessert, but we somehow managed to show some restraint and were able to wait until after supper for this special treat.
Mulberry Cobbler  www.hensleefarmadventures.com
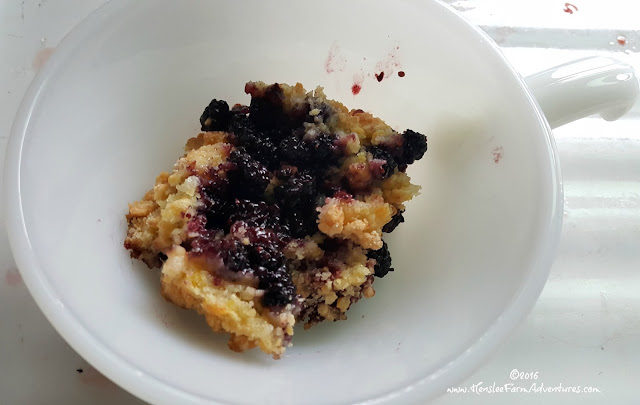
This looks so good, but it really needs a friend.

I spooned some out into a bowl, but then I decided that while it looked good, it looked lonely. So what makes cobbler better? Well...


Mulberry Cobbler  www.hensleefarmadventures.com
Now my cobbler is happy! Cobbler and ice cream, what a treat!

Vanilla ice cream! The only thing that could make this any better is if that ice cream were home made. But alas, we can't have everything!

As you can see the recipe is super simple, and super quick. The perfect dessert for when you are having company and don't want to spend a lot of time in the kitchen. This dessert would also work well with blackberries, raspberries, and blueberries.

Would you like a printed version of the recipe? Click here.

Let me know what think about the recipe in the comments below! Also how do you use your mulberries?

When Life Gives You Lemons...

Tuesday, May 10, 2016
My days have been spent baking savory breads and making jams and jellies (a post is coming soon on the jams and jellies). We have been so busy that we have almost let the garden go. But this past weekend we decided it was time. We had talked about putting in a big enough garden that we could sell our produce, in fact we already have requests for produce from friends and family.

But that was not to be. Our tiller decided to not start. Mr. HFA is pretty handy and mechanically inclined so he can fix almost anything. When he couldn't fix it, I knew we were in trouble. Of course his first comment (out of frustration) was we might as well forget about a garden this year. But for me, that is not even an option.

Last year our garden was a total flop. We had so much rain within a 30 day period that not only did our garden flood, killing everything in it, but our roof on our house leaked sending a steady stream of water into our living room floor. With that amount of rain, we did not have a garden last year, and I did not want to repeat the same fate this year.

In the fall of last year, Mr. HFA built me some raised garden beds with wood we already had on hand. You can read about it here. We decided to add on to our raised beds and make a bigger area.

When Life Gives You Lemons  www.hensleefarmadventures.com
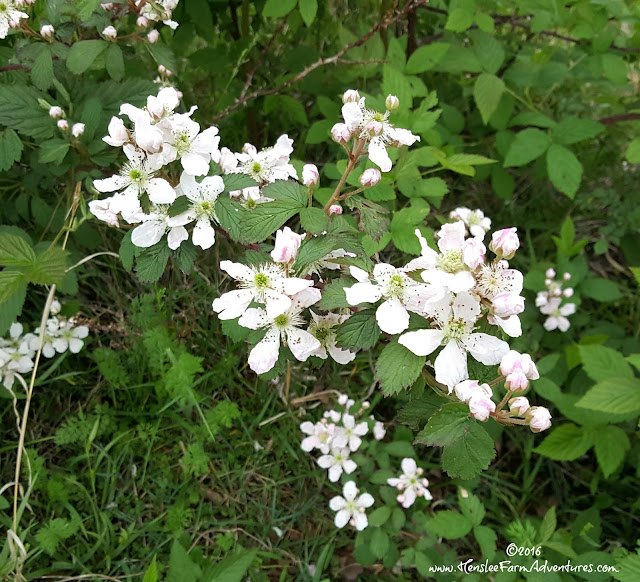
Blackberry blossoms, our hillside is covered with them!

We have seen signs this spring of a good harvest. I hope that it continues. Our blackberries are filled with blooms. In fact I have never seen so many in the 4 years that we have been on our land. The last time we picked blackberries, we were able to get a bucket full and that's it. This year, I already have dreams of blackberry cobbler, blackberry jelly, and selling blackberries at the farmer's market.

When Life Gives You Lemons  www.hensleefarmadventures.com
Our wild gooseberries! The berries are getting so big!

Our gooseberries are also doing really well. In fact it won't be much longer before they are ready to pick. The gooseberries are wild, and usually the wild ones are small. However when we went walking this past weekend checking out our berries, I noticed that they are huge for being wild.

So our garden has started. Since I didn't take the time to start my own plants this winter, I do need to buy some more tomato plants. Of course I will get those at the farmer's market. They are better quality and less expensive than getting them at a big box store. And we need to finish up the addition on to our raised garden bed.

When Life Gives You Lemons  www.hensleefarmadventures.com
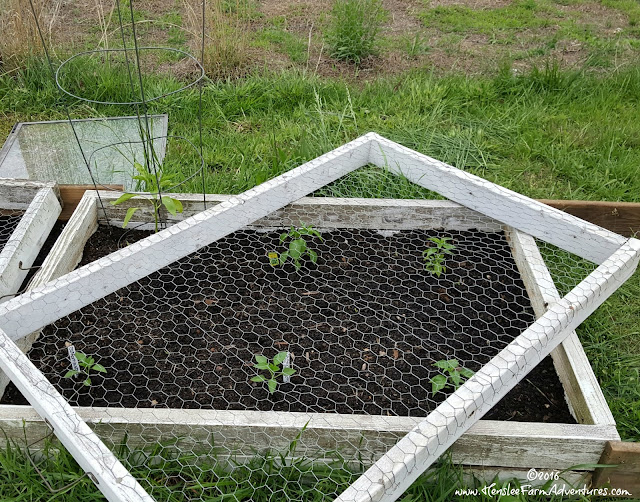
Our pepper plants. Since our chickens are free range, we have to have covers for our garden.

Currently we have a tomato plant, cucumbers, peppers, green beans, and okra. I will be adding more as we get more space.

When Life Gives You Lemons  www.hensleefarmadventures.com
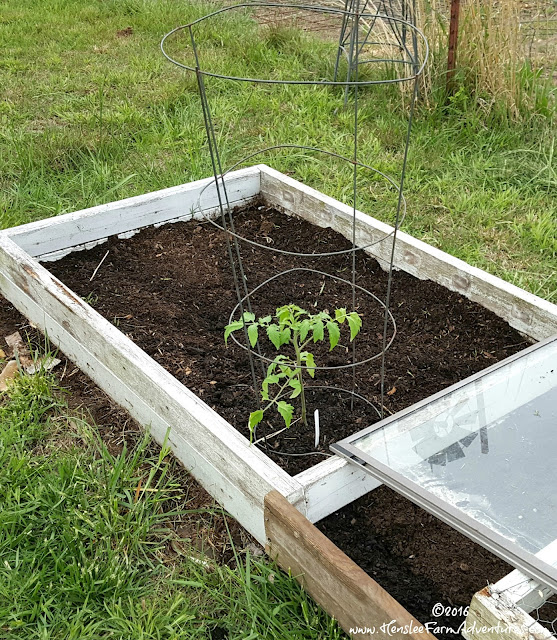
Our loan tomato plant, but it won't be for long.

I think we will try and fix a spot in our "normal" garden area for some pumpkins, gourds, and watermelon. They need lots of space to vine.

When Life Gives You Lemons  www.hensleefarmadventures.com
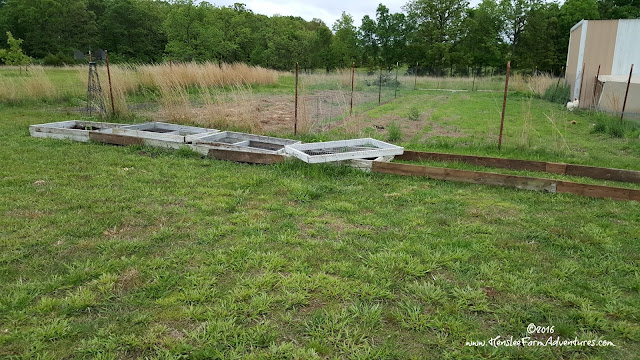
Our raised garden. You can see our original garden area right behind it.

So while normally we would feel defeated, I'm not going to let set-backs ruin my garden this year. Is the raised garden pretty? No, not by a long shot, but it will be beautiful when all those vegetables start growing. And if we only get enough to feed our family, then I will be more than happy with that. Of course I'm hoping to have enough cucumbers to make some of my yummy sweet and spicy pickles and our family's favorite lime pickles.

So I guess the moral of this post (there is always a moral, isn't there?), is that no matter what life throws at you, find a way to keep on. You may need to reinvent your original idea, but don't let anything stop you!

Let me know in the comments below how your garden is doing!

Pickled Radishes

Thursday, May 5, 2016
Have you ever had one of those days? You know the kind where nothing goes right? Well that is how I have been feeling for the past couple of weeks! It is almost the end of the school year and my ability to multitask as a full-time mother, librarian, and blogger just isn't working. I've missed out on field trips, have forgotten to return paperwork and missed some blog posts. All I can say is thank goodness for my husband,  Mr. HFA (that's short for Henslee Farm Adventures in case you're wondering ;-) ). If it wasn't for him I would have lost my mind a long time ago!

Pickled Radishes www.hensleefarmadventures.com


My new venture, since I don't have enough on my plate, is of course selling goods at our local farmer's market (Read about why you should support your local farmer's market). Sometimes I wonder what I got myself into, but to tell you the truth I absolutely love it! The best part is that I have made some new friends.

Pickled Radishes www.hensleefarmadventures.com
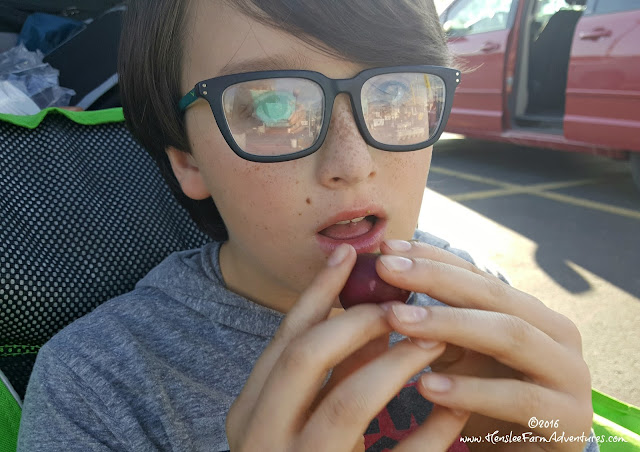
Drew enjoying one of Rema's purple radishes at the farmer's market.

One of my new friends is Rema from Ford Family Farms. She grows heirloom vegetables, is very knowledgeable about her veggies, and has a great sense of humor! Talking to her has been a great learning experience for me. Whether she realizes it or not, I am learning more about seed germination and what works and doesn't work. I have had bad luck with heirloom seeds in the past because let's face it, they are finicky. However after hearing how she does it, I am willing to try it again! But gardening tips is not all she has given me, last week she gave me a beautiful bunch of heirloom radishes.

Pickled Radishes www.hensleefarmadventures.com
Aren't they gorgeous? Ah, produce love.

While I love getting produce, any kind of produce, I wasn't sure what to do with them. Growing up, my parents always grew radishes and they were one of the first items to come out of our garden along with green onions and leaf lettuce. But we never did anything with them except eat them raw and put them in salads. Rema suggested making pickles out of them. Pickling them sounded wonderful! I love pickled anything. Now to find a recipe.

I found several recipes out there, but what I found interesting is that no two are alike. Some used honey, some used maple syrup, some used sugar.  Some had pepper flakes, some had fennel.  Still others used white wine vinegar, or apple cider vinegar, or even just plain white distilled vinegar. It seemed like this was a recipe that truly could be tailored to fit whatever a person liked. 

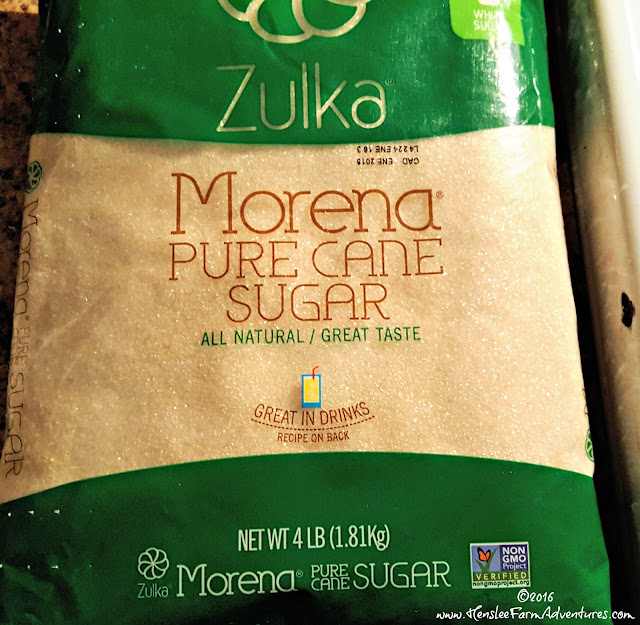
I want to say a little something on the sugar that I use. I do not typically use refined white sugar. You hardly ever get to see the sugar I do use, because I pour my sugar into a glass container which I have at my "baking station" in my kitchen. The sugar I do use is a pure cane sugar which has gone through very little processing. It is not bleached white, although in certain pictures it does look white. It is also non-GMO, AND I can get it at our local Aldi store!

Pickled Radishes www.hensleefarmadventures.com
Non-GMO sugar, nothing wrong with that!

After much debate on which way I should go, I thought I would base the recipe on my sweet and spicy pickles, which are ah-maz-ing I might add.  I might share that recipe with you later this summer when the cukes are ready. With the amount of radishes I had, I was able to make 3 pint jars. I did process them in a water bath canner to preserve them. 

Pickled Radishes www.hensleefarmadventures.com
Ingredients minus the salt, pepper, and garlic cloves. Oops!

So here is my recipe:
  • 2 big bunches of radishes
  • 1 1/2 cups water
  • 1 1/2 cups apple cider vinegar (white wine vinegar would be great too)
  • 1/4 cup sugar
  • 2 teaspoons of red pepper flakes (more or less to taste)
  • 1 teaspoon of pepper (I used white pepper)
  • 1 teaspoon of salt (I used kosher)
  • Garlic cloves (one per jar), optional
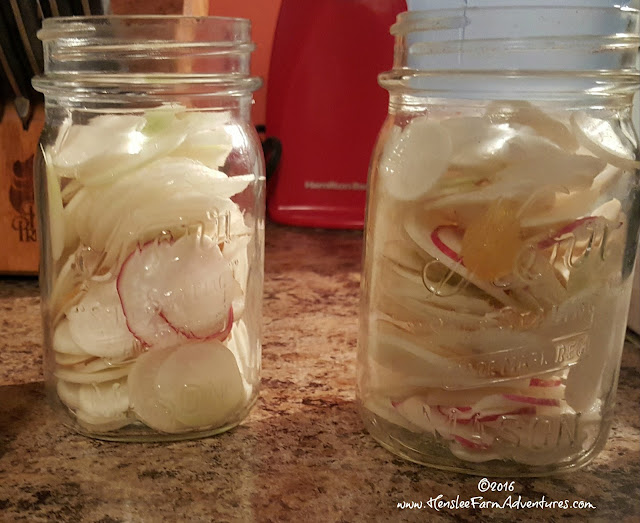
Slice radishes thin. This is where I used my mandolin slicer and it did a lovely job! They were sliced thin and it took no time to do it. If you don't have one, I would suggest getting one, it makes life easier! Once your radishes are sliced, put them in clean and sterilized jars. If you are using garlic, then add in the cloves of garlic too. I used garlic as we love it!

Pickled Radishes www.hensleefarmadventures.com
Thinly sliced in the jar, just waiting for the brine.

Put the rest of your ingredients into a pan and heat until the sugar dissolves. Poor liquid over the radishes, wipe off the rim of the jar and place a flat and ring on the jar, fingertip tight. Process in a water bath canner, 20 minutes for pint jars.

Pickled Radishes www.hensleefarmadventures.com
Pickled and ready to eat!


That's it! If you don't want to can it, you can simply place it in the fridge and let set for 24 hours for the flavors to meld. *NOTE: If you do can this, keep in mind that when you process these it will intensify the heat of the red pepper flakes. If you do not like it that spicy, then decrease the amount of pepper flakes that you use.

These radishes are a hot, tangy, slightly sweet, wonder! I can't believe that I have never had these until now! And I can't wait to grill some burgers and put these bad boys on top instead of my regular pickles. Talk about kicking it up a notch!

So try these out and let me know what you think. And comment below if you have ever made pickled radishes before.

Food, Family, & Traditions

Tuesday, May 3, 2016
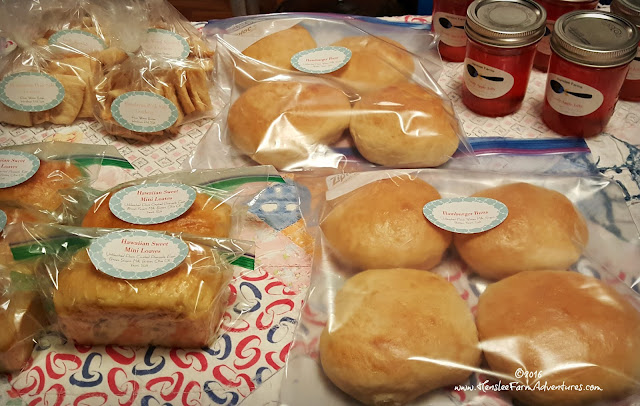
For the past couple of weeks, I have been baking and canning jellies and jams to take to our local farmer's market. Believe it or not, it has been a dream of mine to be able to bake and make items to sell. While I would really love to own a little restaurant, similar to what my dad owned, at this time the farmer's market is about all we can handle.

Food, Family, & Traditions www.HensleeFarmAdventures.com
Baked goods for the farmer's market

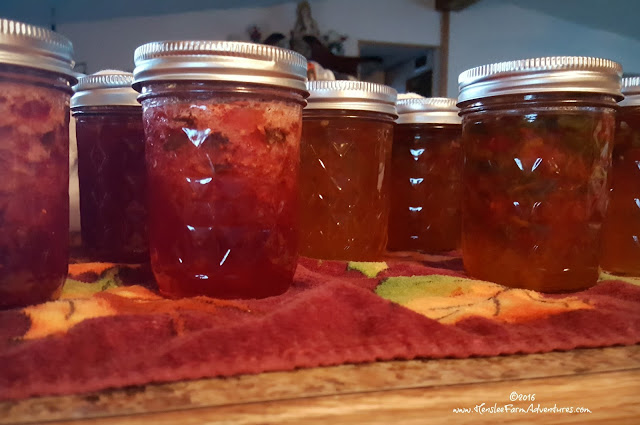
As I stood last night at my kitchen sink, looking out the window and stemming strawberries to make strawberry jalapeno preserves, I got a strong sense of déjà vu. I realized that the food itself was bringing back memories. Memories of my childhood, of when my mom and dad would can jams and jellies. When we would get together with my grandparents and make pies to go into the freezer for winter. The food connected me to my childhood. In fact if I stood there long enough I could imagine standing at my parents' kitchen sink, looking out their window, helping to get whatever produce was ready to either can or go into the freezer.

Food, Family, & Traditions www.HensleeFarmAdventures.com
Strawberry Jalapeno Preserves and Pepper Jelly

Tradition in our family and in many families can be found in the food that we eat and make. There are certain things that we always make on holidays. For Easter it is ham, deviled eggs, and my grandmother would always make angel food cake with strawberries. For the Fourth of July, growing up we always had watermelon and homemade ice cream. Thanksgiving of course means turkey, our family's special dressing (stuffing), and pumpkin pie. And of course on Christmas we would have homemade candies that was only made during that season.

Food, Family, & Traditions www.HensleeFarmAdventures.com
Homemade deviled eggs, a tradition at many of our family gatherings.

I try to carry on some of these traditions for my children, but I also try to start new traditions for them. They will grow up eating strawberries and pie crust for Easter, and for the Fourth of July, since my daughter is allergic to dairy, there is no homemade ice cream. Instead we stick to fruit kabobs and of course grilled hamburgers and hot dogs.  Thanksgiving we still have our traditional family meal, and for Christmas, I make several of the candies that I grew up with.

Food, Family, & Traditions www.HensleeFarmAdventures.com
Homemade buns using my dad's recipe that he used when he owned the Pastry Shop


One of the best gifts I have received was from my cousin Jim. To most people it would have no value, in fact it really has little monetary value, but to me it is worth everything. It is our grandmother's rolling pin. It still has the dough on it from the last time that she used it. She passed away in February of 1988, I was only 14 years old. When I look at that rolling pin, I think about her and her raisin pie and her stacked applesauce cake. I also think about how much she loved all of her grandchildren and how kind she was to us. I know that when Jim looked at the rolling pin, he had different memories of her, but still loving memories. He is older than me and while we didn't grow up together, we share what matters most, a grandmother, a rolling pin, and sweet memories.

Food, Family, & Traditions www.HensleeFarmAdventures.com
My grandmother's rolling pin.

So as I make the jams and jellies, as I bake my dad's famous hamburger buns that he served at his restaurant, I am making new memories and traditions, while still carrying forward the old. These memories are ones that my children can look back on and remember, fondly I hope. Memories that I hope they will carry on as they raise their children. Memories that are all founded in food.

What food traditions does your family have? Let me know in the comments below.
©HensleeFarmAdventures.com. Powered by Blogger.

Search This Blog

Back to Top